Anyway, enough feeling sorry for myself, onto the fun stuff....
I had so much fun doing the last tutorial that I'm going to show you how I altered the Michaels notebooks.
There's no set in stone way to do it, this is just how I did it, and I'll try my best to explain it.
First step is to take the cover off the notebook and find some coordinating scrapbook paper. These notebooks have some color on the paper itself so it looks nice to have the cover colors match. The binding is also very easy to pull apart. My notebook has a light orange color inside so I chose this pretty paper from The Paper Studio.
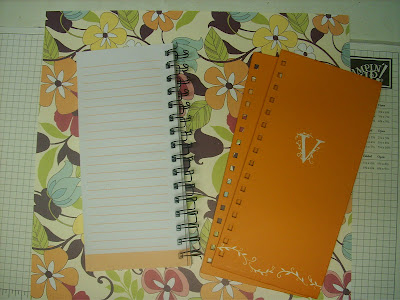
I cut my paper to be about 1/2 inch longer than the cover, if it's much longer you will cover up the holes when you go to fold the paper over the side, and about 1 inch wider.
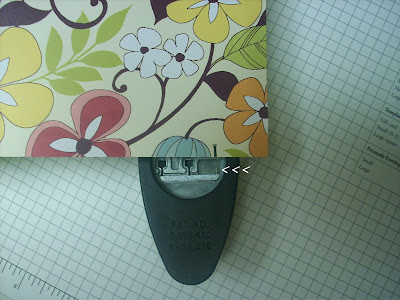
I used Stampin' Up!s spiral punch. I don't know if there's another version out there or not. This particular punch has a little metal "nub" inside on the end to use for lining up the corner of your paper. The white arrows are pointing to it. I didn't want to start punching the tabs at the end of my paper or there would be extra holes that would show up on the edge of my cover. What I did was lay down my cover on the paper and mark with a pencil the last hole. Then with my scissors I cut a little slit for the "nub" to fit into to start my hole puching further away from the edge. As I got near the end I placed the "nub" in the second to last hole in order to punch only one hole at the end. Again, I didn't want extra holes.
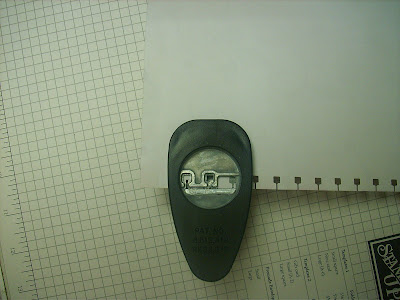
To go back and puch the hole where I cut my slit, I simply flipped my paper over and put the "nub" in the second to last hole again to get only one hole punched.
Now that I have my paper for the covers cut I cut a small strip of paper the same length as the longest side. This is to cover the exposed edge where the binding goes and give it a more finished look, Because there is no way to wrap the paper aroung where the tabs are. I use Modge Podge to glue the paper on.
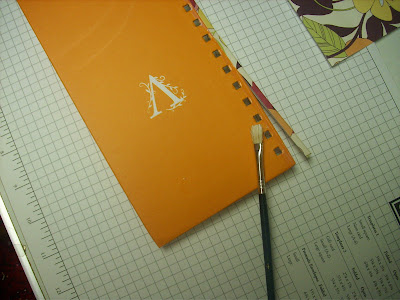
Cover the entire surface of the cover with glue, line up your holes and attach your paper. This is another reason to have matching paper, sometimes the holes don't line up exactly and some of the cover color may show. What do you expect with a $1 notebook, right.
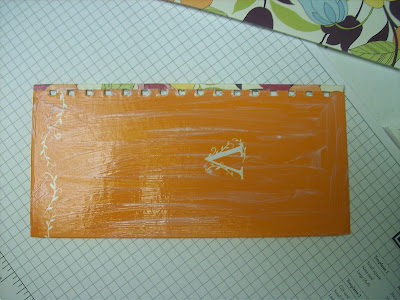
I completely for got to take pictures of wrapping the paper around the notebook, but just flip your cover over and like a present, fold and glue the paper around the edges of your cover. I like to start with the shorter ends.
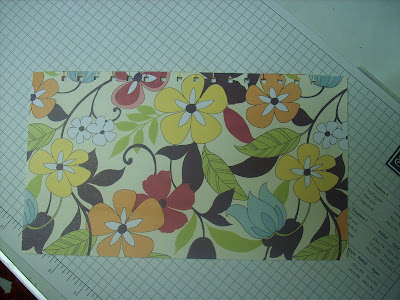
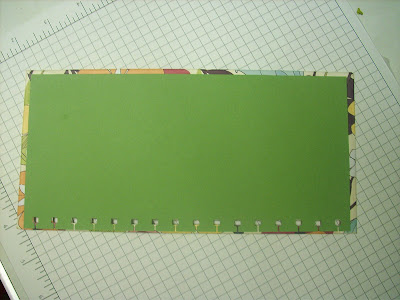
Next you need to cover up the inside of the cover where the paper was glued down. I chose a matching green. I started with an 8 1/2 inch long piece and punched holes all along the edge. It doesn't matter this time if you have extra holes because you will trim it short anyway.
Finished cover. Repeat all the above steps for the other cover.
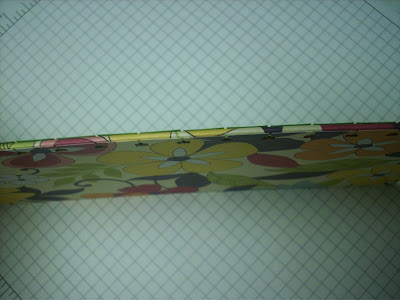
This is a picture of the edge where I glued the small strip of paper. If I hadn't done it, this would show the original orange color.
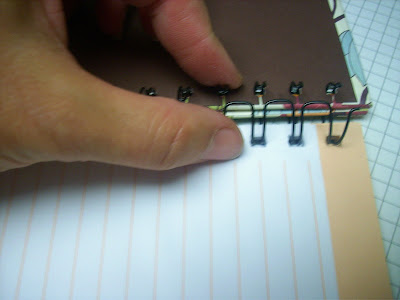
Put your cover back onto the spirals. Make sure they are facing the right way and not inside out. Then just pinch the binding back together.
I know this shows brown on the inside, I was originally going to use brown, but changed my mind to the green. Then, when I was doing the back cover I grabbed the wrong color. So just ignore it and pretend it's green :).
Embellish your finished product anyway you want!
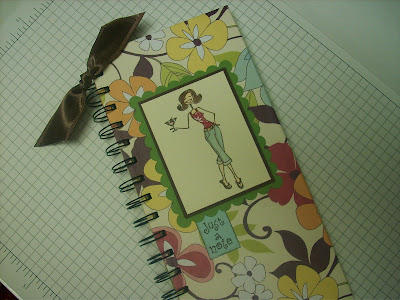
I hope this is easy to understand. If something confuses you, please feel free to ask me any questions. And for those in suspense...the Comcast guy was right on time this morning!!
Thanks for looking!



17 comments:
Oh geez, you have TWO blogs!! I posted on the wrong one! Well, I guess not really since I was discussing the first day of school!! This notebook is adorable ~~ I haven't altered ANYTHING in so long!! It's on my to-do list. Really!
How fantastic!!! Love this tutorial, especially the great tip about the extra strip of paper. Thanks!
Great tutorial!! I need one of those punches.
This is very cute!
I can never find notebooks that match up to my SU! punch.
Gorgeous paper, and great tutorial!! I love the tip of adding that extra little strip to cover the inside edge! Those are the little details that make a big difference ;) tfs!
Such a great notebook! I love that paper and the image!
Thanks so much for posting this! It does look easy. Now I just need to wait for Michael's to open (in Oct.!), and I'm good to go!
Good job on your tut! And yes, come over! No need for drinks, but if you do, bring me Dr Pepper :)
This was great, thank you! I have to give one of these altered note books a try, all of yours have turned out so wonderful!
I'm such a chicken, I need to do some tutorials on my blog!
this turned out very nicely! I like!!! Great tutorial by the way!
great job on the tutorial and what a beautiful finished product!
This is super cute! Now I need this punch to be able to do notebooks. Well, it is cheaper than the whole machine/ systems...
I LOVE IT!!!!! I didnt even think to take it apart when I did one. LOL Thanks for the tip!
What a great idea, I love it! Thanks for the great tutorial :)
Great tutorial! :D Thanks!
Love the journal!! Nice tutorial! Thanks for posting a comment on my blog!!
Jenny
Great technique!!! I never thought about using the SU! punch to make the holes....DUH!!
Post a Comment